
Chocolate Photography Tips
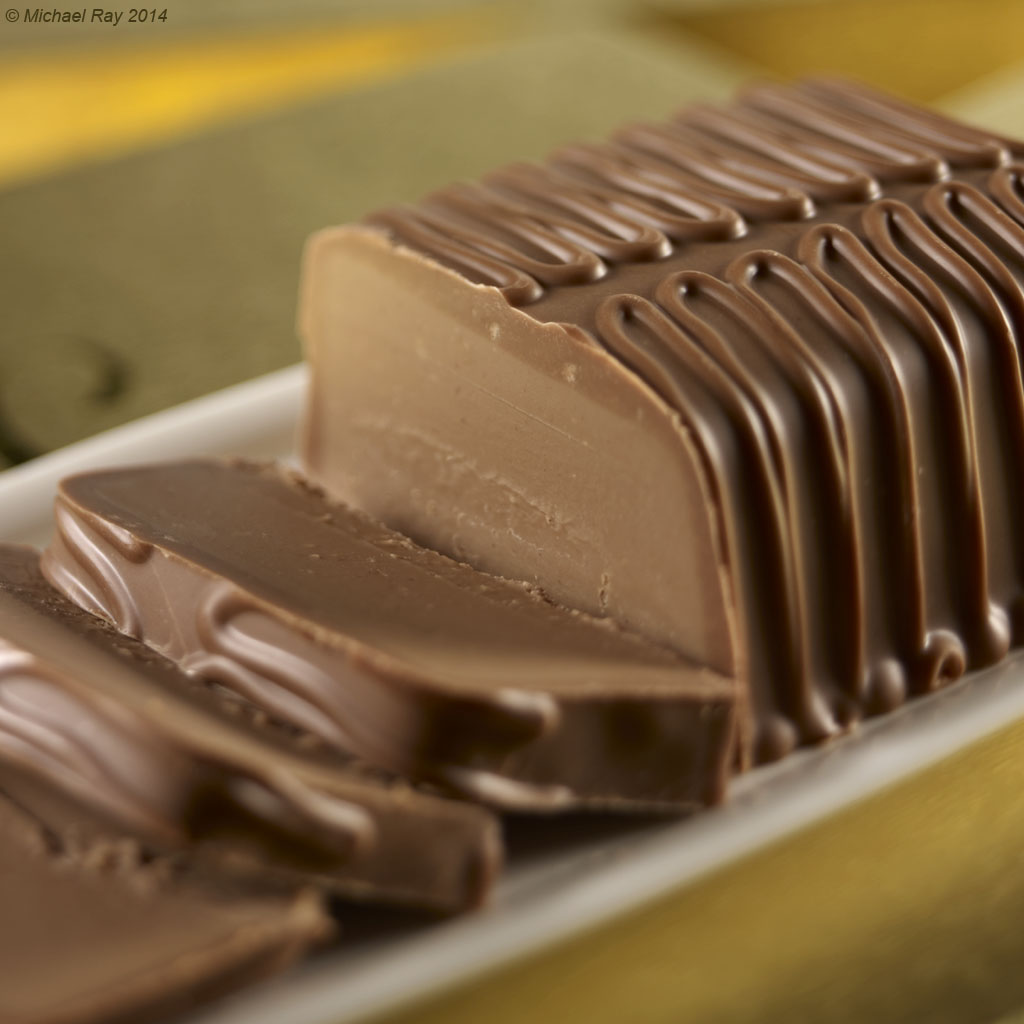
Here’s a photo from this week’s Chocolate photography shoot with Sarris Candies. The photo is un-retouched, so I admit that there are some details that need to be tweaked. like the actual melt-away chocolate surface, but what I really liked about this photo is the way we used the boxes as the background. Buyers of a company’s chocolates often recognize a particular flavor by the color of the box, so it’s important to include at least a portion of the box in the photo. In this shot, we used nothing but the box as the background of the photo…
Another reason I really like this photo is, of course the lighting, but also the limited depth of field. With chocolate photography, it’s important to have deep enough contrast to make the candy look “rich”, and having a shallow depth of field adds to the romance of the photo.
So here are my food photography tips when shooting chocolate:
1. Use gloves when handling the product. Nothing mucks up a photo of chocolate worse that having a visible fingerprint.
2. Light against the grain of the drizzle. I’ve heard it said that it’s not the light that makes a picture, but the shadow, and that applies here… Light from a direction that causes the most texture possible.
3. Go easy on the fill light. With chocolate photography, deep shadows make the food look richer than it does with “flatter lighting”, and chocolate is supposed to be “rich”.
4. Use limited depth of field, when possible. It tends to make the photo more “dreamy” and “romantic”, and you need that to convince people that the calories are worth it… :o)
5. If you’re going to be cutting into the chocolate, you’ll need to do some retouching. It’s inevitable…
6. Keep your working environment as cool as possible. You don’t have to go crazy, but below 70 degrees is usually enough. The reason for this has more to do with handling the product and less about the appearance of it. Soft chocolate is harder to cut and will have a tendency to “dent” when handled.
7. If you’re working with chocolate that is meant to be eaten at room temperature and not refrigerated, as with chocolate ice cream, you usually don’t need to do anything to prepare the chocolate, but with chocolate, right out of the frig, you might need to blow on on it with a hair dryer of with your breath, to take the condensation off of the surface of the item. This is often a hit or miss kind of thing and will sometimes end up with a terrible looking product, so before doing this, make sure you have another subject as a backup. And if you’re shooting something big like a cake that has bits of chocolate on it., make sue it’s at room temperature way before you need to shoot it. If you don’t, the chocolate will either look fogged because of the condensation or wet, because you tried to “dry” or “wipe away” the moisture. Neither works. Make sure that cake is at room temperature, even if you have to take it out of the frig the day before the shoot.
Well, that does it for now. If I come up with some more tips on shooting chocolate, Ill add them to this post, so you might want to check back later…