
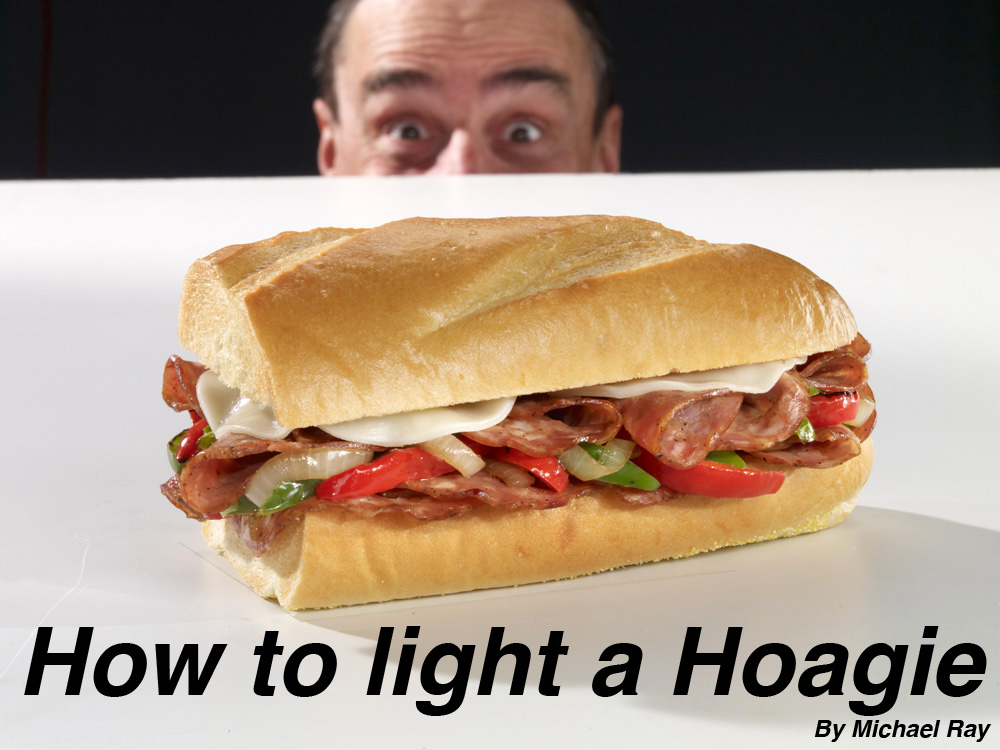
Advanced Food Photography Lighting – How to light a hoagie
LEAVE A COMMENT!!!!!!!! :o)
Food Photography Video Outline Notes:
Welcome / Introduction
Advanced Food Photography Lighting: My name is Michael Ray and I’m a professional food photographer. This video is part of my web site, foodportfolio.com, where I share tips and tricks of professional food photography. In this video, I’ll explain how to light a hoagie. The shot I use as an example is one I did recently for a local grocery store chain and is not very exciting, but if you’re trying to learn more about food photography lighting, I think you’ll find it very informative. The simplicity of the shot helps you see exactly how and why, I did what I did…
Explain how this video happened
I didn’t create this photo with this video in mind, so I don’t have any behind the scenes photos of the shoot. What happened is that after the shoot, when I was going through all the images and I realized that I had a really detailed sequence of photos that illustrated just how a professional food photography shoot progressed. I would flick from one image to the next and I could see how the images developed as I added more and more lights.
I’m always looking for blog content, so I thought I’d show the sequence on my blog and write about it. Then, as I was working through the images, I found it a little difficult to get them in the right order. Some of the differences between shots was pretty subtle and it occurred to me that showing them side by side, or one image above the other, really didn’t do the trick. Then, I thought that fading between the images, better showed the changes. So that’s why this is a video and not one of my regular blog posts.
Light #1 – Placing the mail light
11:00
Creating shape
Scraping light for detail
Light #2 – Creating an edge light to give it life
2:00
Probably out of order but there…
Watch out for double shadows
Light #3 – Lighting in layers
Above and behind (large) reflective surface
Something relatively new for me
Light #4 – Adding front light 5:00 and above camera axis
More than just fill
Lighting in layers
Second mail light (think shape)
Mirrors #1 – Adding detail light
4:00 and above camera axis
Give shape to the detail
Light from above camera axis
Mirrors #2 – Adding a little sparkle detail light
3:30 at camera axis
Gives more shape to the detail
Gives “life”
Okay to light from beside as opposed to below
Mirrors #3 – Adding a little light to the details
7:00 above camera axis
Before it’s over, ask what it needs
Adding fill
Look in the deep shadows
Don’t overdue it…
This is hard to do…
Conclusion:
That’s how I lit this hoagie, but I’m sure every professional has their own way of doing it. There are no rights or wrongs in food photography. It’s too subjective for that. There’s just more and less successful ways of doing something. And I realize that you’ll probably don’t have all these lights and mirrors, and that’s okay. What I’m hoping you came away with, is the importance of seeing light. Seeing light is what for photography is all about.
Take away points:
◆ Light for shape and then texture.
◆ You need to learn how to see light, what’s it’s doing.
◆ Experience will teach you right from wrong
◆ It’s okay to fail / it’s an experiment
◆ Lighting is easy, learning to see light, is the hard part.
Call to action
• Visit my web site
• Join my mail list
• Leave a comment / ask a question
• Share this with your food photography friends
• Give me a link!!

Hi Michael,
Great video on food lighting, thanks! I just wanted to write a note to say I enjoy your photography and learn from you since my first days in food photography, back in 2007. I am also the owner of the Food Photography Industry Professionals group in LinkedIn, and I wanted to thank you for postings and sharing your knowledge there as well.
Cheers!
Ana
Thank you for the kinds words Ana. I’m glad you enjoyed it… And thanks for running the group. I know that must be a lot of work and a lot of people get a lot out of it…
Great lesson! Thanks for sharing.
Thanks! and you’re welcome… :o)
Hi Michael,
I’m learning so much from your postings and wanted to say “Thanks for sharing”. I photograph meat for my job and I’m looking for a 2-day food photography seminar. If you have any suggestions please let me know.
Thanks for the kind words. I actually give one and two day “one-on-one seminars. If you’re interested, check out this page:
http://www.foodportfolio.com/food_photography_seminar/index.html The first day is 1350.00 or two days for 2000.00.
Did you join the mailing list?
Thanks for the hoagie lighting. I am in the process of making mirrors to light food and this is a boost.
I really think that you have done a better fob of explaining the lighting process than any blog I have seen! The step by
step one at a time is very useful. (just like it would be done when shooting). It is clear you wanted us to get
it. It is also clear that I need a couple more lights.
Dan.
Thanks for the great video, Michael. Any thoughts on setting up a similar shot using speedlights?
Jarrod
That would be a little tough. I’d really like to figure out how to do that, but not having a modeling light on the speedlights, makes it tough. It’s hart to aim a mirror that accurately without a modeling light. I’ve been considering getting a freznel LED spot light though… I bought some led floods to do some video, so I have the fill taken care of, but the spot is a problem…